Dzięki naszym plikom cookie chcielibyśmy zaoferować najlepsze możliwe doświadczenia zakupowe wraz ze wszystkim, co się z tym wiąże. Obejmuje to na przykład odpowiednie oferty, spersonalizowane reklamy i zapamiętywanie preferencji. Jeśli Ci to odpowiada, po prostu udziel zgody na używanie plików cookie do preferencji, statystyk i marketingu, klikając „W porządku!” (pokaż wszystko) Zgodę można wycofać w dowolnym momencie za pośrednictwem ustawień plików cookie (here)
Informacja: Aby opinie na temat sprzętu umieszczane na naszej stronie pochodziły jedynie od osób mających styczność z danym artykułem, umożliwiamy wystawianie ocen jedynie naszym klientom.
Opinie można wystawiać po zalogowaniu się w centrum klienta, używając opcji "wystaw opinię".
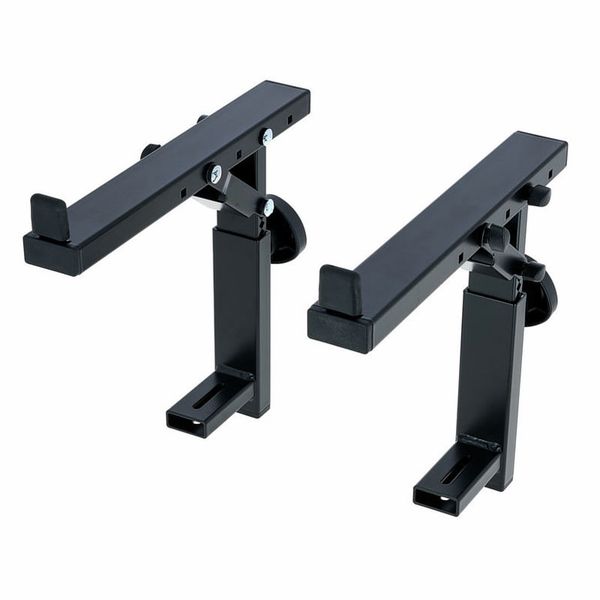
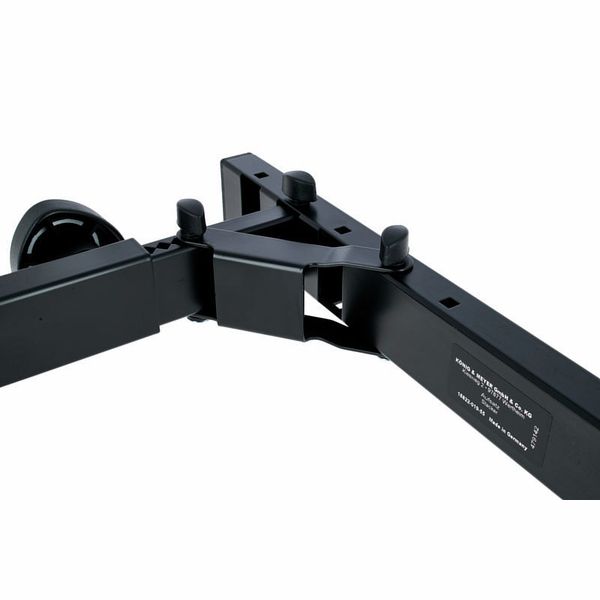
I have this installed above my K&M Omega keyboard table, and K&M 18811 extension, using the K&M 18824 tray. The extension is holding 2 drum machines above 2 keyboards. Fitting the tray means that the 18811 & 18822 should only be installed in one position (normally you can choose the width of the 18811 brackets to fit your keyboard) however that worked out great for my requirements.
When I looked at the Omega series and the 3rd level extension online, I was worried that it would be unstable - it looks very light . Now that I have it assembled, I am very happy - the build quality is excellent and everything is very solid when tightened in place. This it feels like this will last for a very long time.
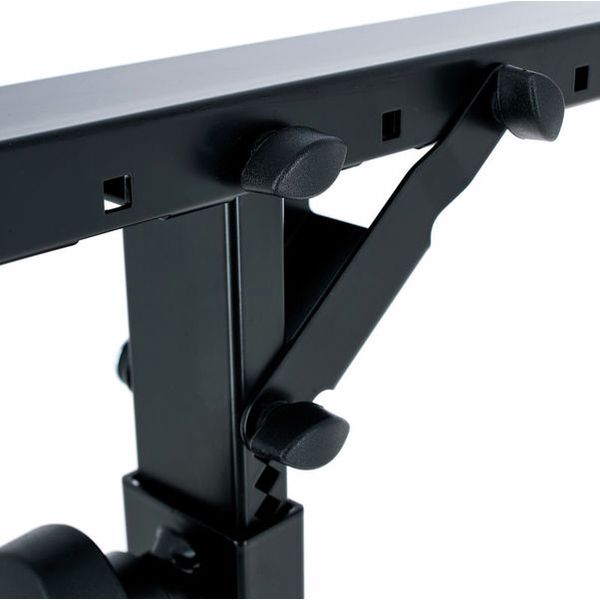
The brackets can be adjusted to give some flexibility in height and position (forward and back). It is very stable with my keyboards and drum machines.
I am happy with this purchase
This works great!
I have this installed above my K&M Omega keyboard table, and K&M 18811 extension, using the K&M 18824 tray. The extension is holding 2 drum machines above 2 keyboards. Fitting the tray means that the 18811 & 18822 should only be installed in one position (normally you can choose the width of the 18811 brackets to fit your
This works great!
I have this installed above my K&M Omega keyboard table, and K&M 18811 extension, using the K&M 18824 tray. The extension is holding 2 drum machines above 2 keyboards. Fitting the tray means that the 18811 & 18822 should only be installed in one position (normally you can choose the width of the 18811 brackets to fit your keyboard) however that worked out great for my requirements.
When I looked at the Omega series and the 3rd level extension online, I was worried that it would be unstable - it looks very light . Now that I have it assembled, I am very happy - the build quality is excellent and everything is very solid when tightened in place. This it feels like this will last for a very long time.
The brackets can be adjusted to give some flexibility in height and position (forward and back). It is very stable with my keyboards and drum machines.
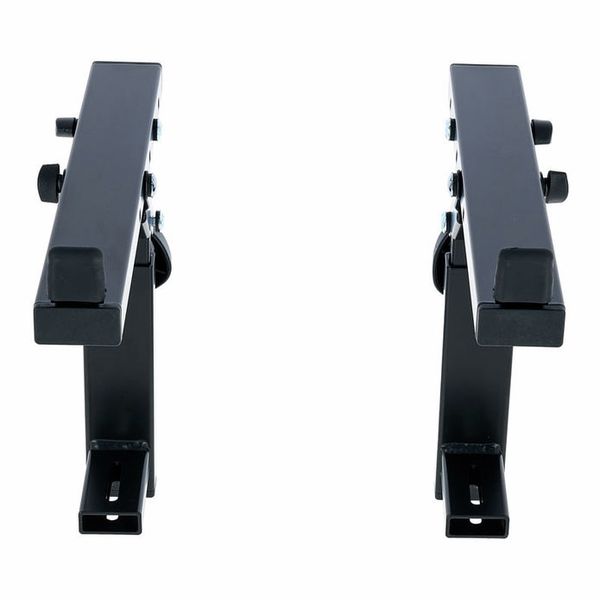
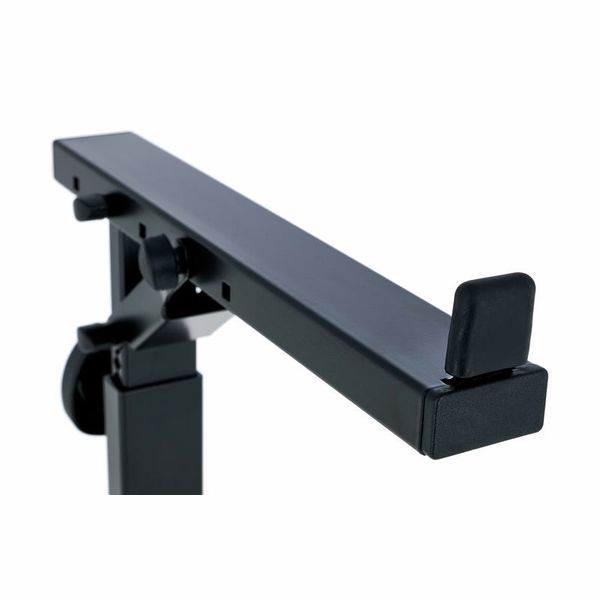
Another useful add-on for the Omega stand for various purposes. After trying out a few different setups, I settled on using it for my 17-inch laptop, which turned out to be much more convenient than K&M's dedicated laptop holder that attaches to the side of the stand.
Make sure to keep track of the spacers when assembling/disassembling. Some joints only have one, while others have two. I mixed a few up while putting the thing together, so the end result was a tad wobbly until I took it apart and figured out where the extra spacers actually went. If done correctly, it should not have any stability issues.
Another useful add-on for the Omega stand for various purposes. After trying out a few different setups, I settled on using it for my 17-inch laptop, which turned out to be much more convenient than K&M's dedicated laptop holder that attaches to the side of the stand.
Make sure to keep track of the spacers when assembling/disassembling. Some joints only
Another useful add-on for the Omega stand for various purposes. After trying out a few different setups, I settled on using it for my 17-inch laptop, which turned out to be much more convenient than K&M's dedicated laptop holder that attaches to the side of the stand.
Make sure to keep track of the spacers when assembling/disassembling. Some joints only have one, while others have two. I mixed a few up while putting the thing together, so the end result was a tad wobbly until I took it apart and figured out where the extra spacers actually went. If done correctly, it should not have any stability issues.